
Telling a travel story on video can be a challenge, especially when you're not using your own voice. Many vloggers want to speak in their videos but face noise, echo, or don’t have the right mic.
This is where the CapCut Desktop Video Editor becomes useful. Its AI voice generator lets you turn written words into clear, smooth voiceovers. It feels like a story being told by a calm narrator.
It helps make your videos clear, engaging, and easy to follow. Just note, some tools inside CapCut PC may need payment to unlock.

Why Use AI Voice Generator for Travel Vlogs
Recording your voice while you travel is not always easy. There may be wind, people talking, or traffic sounds in the background. You might not carry a mic, or the space may echo.
This makes your audio unclear and hard to use. With CapCut PC’s text to speech, there's no need to record your voice. Just type your script, and the tool will turn it into a clean voiceover.
You can change the tone, pitch, and speed to match your scene. Whether your story is calm or full of action, the voice can sound just right. The tone stays even, no matter where or when you edit. This keeps your vlog smooth and easy to follow.
The AI voice generator gives your story a strong, clear voice. It makes even new artists sound like pros. You can also transform your blog articles into voice-guided travel vlogs for YouTube or reels effortlessly.
Steps to Use CapCut PC's AI Voice Generator
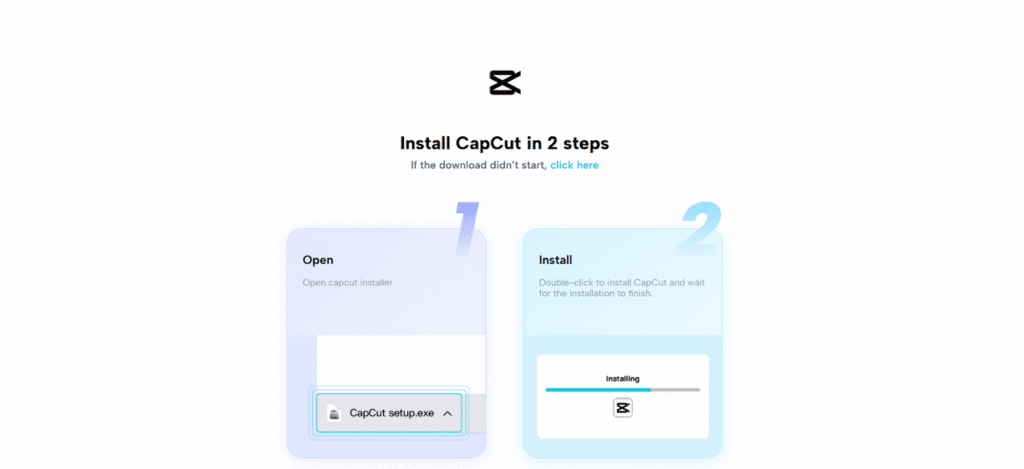
Step 1: Download and Install CapCut Desktop Video Editor
First, visit the official CapCut website and download the CapCut PC installer. Once downloaded, open the file and follow the steps on your screen to install it. The setup takes only a few minutes.
Make sure your system runs on Windows 10 or newer, or macOS 10.15 or later. After installing, you’ll see the main editing screen.
While the app itself is free to use, some tools inside, especially AI features, may ask for payment. Make sure you verify what you require prior to embarking on your project to avoid last-minute surprises.
Step 2: Import Your Travel Clips
Click "Import" to add your travel clips to the media library. After importing, drag the clips into the bottom-of-the-screen timeline. Organize your videos by place or day to maintain a smooth story.
You can trim, drag, or zoom in/out on clips by utilizing default tools on the left bar. For those wanting to refine raw clips, CapCut's AI video upscaler could assist in enhancing older or low-res footage without needing to re-shoot.

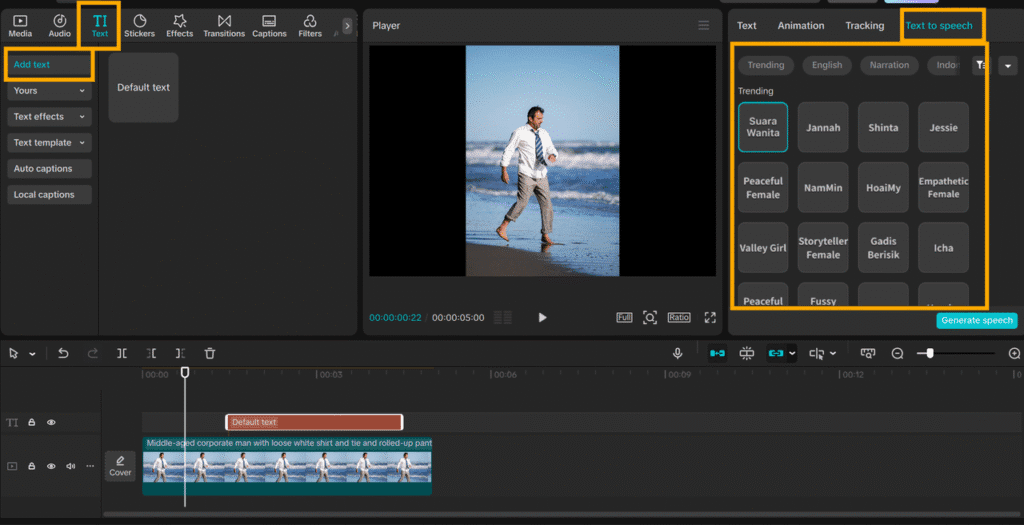
Step 3: Add Your Script and Choose Voice Settings
Click on the "Text" tab in the left-hand menu. Select "Text to Speech" from the list. Now, copy and paste or write your travel script in the input box.
Then, select a voice tone from the drop-down list, soft, bold, serious, or playful. All of them have a different tone. You can even select a language and alter the speed at which the voice talks.
Also, adjust the pitch to match how you want your story to sound. This helps set the right mood and makes the voice feel more natural.
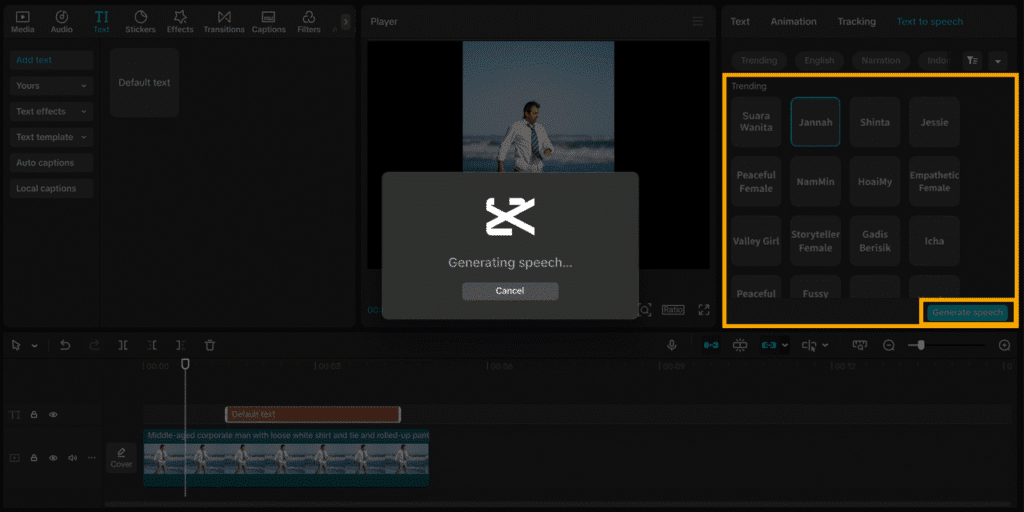
Step 4: Generate Voice and Sync with Timeline
Click on "Generate" to listen to your voice. If it sounds slightly off, adjust settings and have another go. When satisfied, drop the voice clip onto the timeline.
Align it with your video shots. You can change the voices for different clips to vary it. The text to speech AI tool allows you to experiment and switch voices easily without making it complicated.
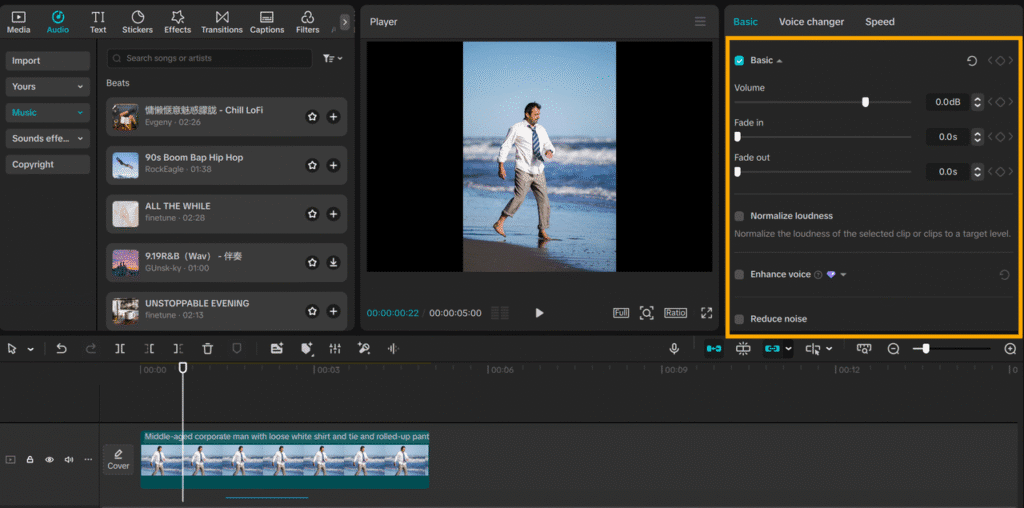
Step 5: Sync Voiceover with Visuals
Having your voice added to the timeline, slide it forward and backward to synchronize it with the video. Trim the voice using the trim tool wherever required.
Preview it by playing back to see if the timing does not seem jerky. You may also include background music from the built-in library or insert captions below your video.
Used with varying features, this step provides your vlog with a professional and neat finish that is ready to be posted.
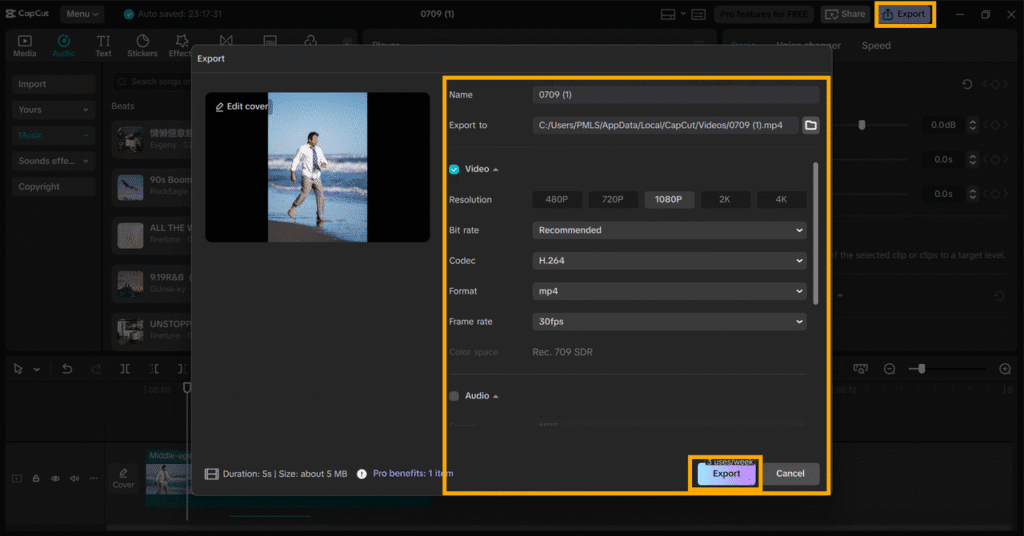
Step 6: Export and Save
Click the "Export" button in the upper right. Select your video's resolution, format, and frame rate. Choose the folder where you want to save the file on your device.
Once saved, your video is ready to be uploaded to YouTube, TikTok, or any other platform. Your narrated travel vlog is now finished, with a voice that brings your narrative to life.
Conclusion
Adding narration to your travel vlogs need not be difficult. With CapCut PC's AI voice generator, you can make any vlog a silky-smooth narrative video.
You don't need to have expensive equipment or a silent room to achieve a good outcome. Just type out your script, select a voice, and let the tool take over.
CapCut Desktop Video Editor has both free and premium features to suit various requirements. If you wish your travel tales to sound more pleasant and feel more satisfying, give it a shot. Download CapCut PC from the official website and create your own spoken vlog today.